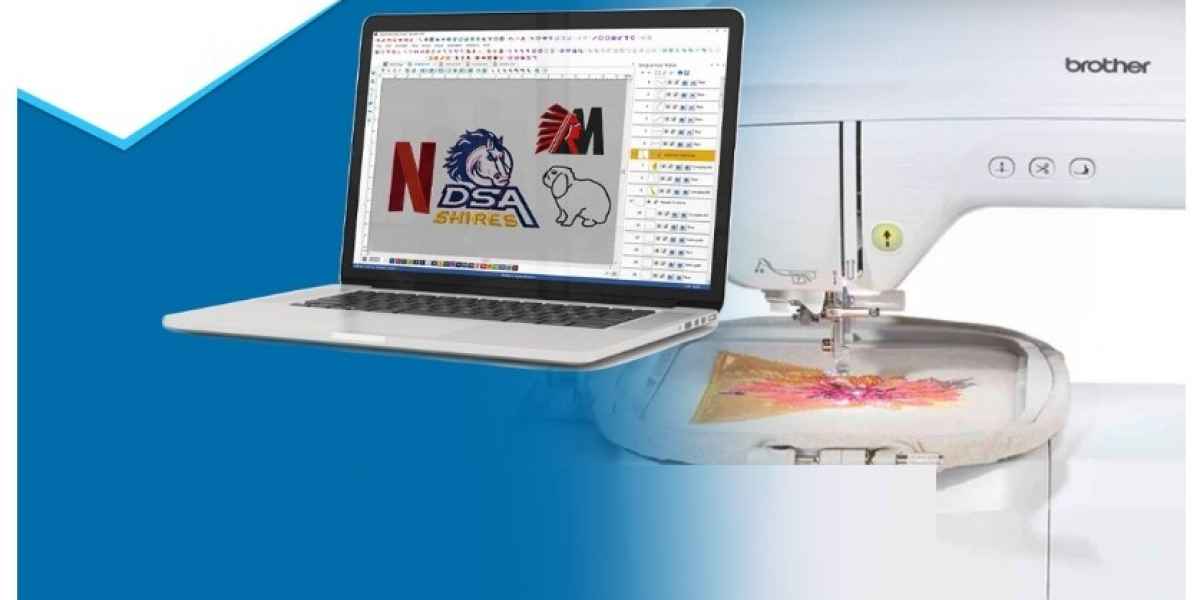

A logo may look perfect on a screen, but embroidery tells a different story. Tiny details can disappear, thin lines can break, and colors may not stitch the way you expect. That is why you need to properly prepare your artwork before sending it to an embroidery machine.
If you want to convert logos into Brother PES embroidery files, the process involves more than simply changing a file extension. Your logo must first be converted into embroidery stitches and saved in a PES-compatible format.
In this guide, you will learn how the conversion works, what you need before starting, how to prepare your artwork, and how to get better results on Brother embroidery machines.
What Is a Brother PES Embroidery File?
PES is an embroidery file format commonly used with Brother-compatible embroidery machines. Unlike a normal image file, a PES file contains stitch information that tells the machine how to create the design.
A regular logo might contain pixels, shapes, colors, and text. An embroidery file translates those visual elements into instructions such as:
- Stitch type
- Stitch direction
- Stitch density
- Thread color
- Stitch sequence
- Needle changes
- Design size
- Machine positioning
This means you cannot simply rename a JPG, PNG, or SVG file as .pes and expect an embroidery machine to understand it.
The artwork needs to be digitized first.
Why Convert Logos into Brother PES Embroidery Files?
If you create embroidered clothing, uniforms, hats, patches, bags, or promotional products, having your logo in PES format can make production easier.
A properly digitized logo can provide:
- Cleaner embroidery
- Better stitch placement
- More accurate colors
- Improved small details
- Consistent results
- Compatibility with supported Brother machines
For example, imagine a company logo with a small circle and thin lettering. On a computer, these details may look sharp. During embroidery, however, the lettering can become crowded if the stitch settings are not planned correctly.
Professional digitization solves this problem by adjusting the artwork for fabric and thread.
Image File vs. Embroidery File
One of the most important things to understand is the difference between artwork and embroidery data.
Image Files
Common logo formats include:
- JPG
- PNG
- AI
- EPS
- SVG
These files describe how artwork should appear visually.
PES Embroidery Files
A PES file contains embroidery instructions. It tells the machine what to stitch, where to stitch it, and how the design should be constructed.
Think of your logo as a building blueprint and the embroidery file as the construction instructions. The first shows what the finished result should look like, while the second explains how to create it.
How to Convert Logos into Brother PES Embroidery Files
The exact workflow can vary depending on the software and artwork, but the basic process follows several important stages.
1. Prepare Your Logo
Start with the cleanest version of your logo available.
A high-quality vector file is often easier to work with because its shapes can be edited without losing quality. If you only have a JPG or PNG, it may need additional cleanup before digitizing.
Check your artwork for:
- Unwanted backgrounds
- Blurry edges
- Extra shapes
- Very thin lines
- Tiny text
- Overlapping elements
- Unnecessary colors
A clean design gives the digitizer a better starting point.
2. Select the Correct Design Size
Embroidery is sensitive to size.
A logo intended for a shirt chest may need different settings from a design created for a hat or jacket. Enlarging or shrinking an existing embroidery file without checking its stitch structure can lead to poor results.
Before digitizing, decide where the logo will be embroidered and determine the approximate finished size.
3. Choose Suitable Stitch Types
Different parts of a logo usually need different stitch types.
Common embroidery stitch types include:
- Satin stitches: Useful for borders, lettering, and narrow shapes.
- Fill stitches: Suitable for larger areas.
- Running stitches: Useful for outlines and fine details.
- Underlay stitches: Help stabilize fabric and support the top stitches.
Choosing the right stitch type is one of the most important parts of embroidery digitizing.
4. Set Stitch Direction
Stitch direction affects the appearance of an embroidered logo.
Changing the direction can help create cleaner shapes, improve texture, and reduce unwanted gaps. Professional digitizers consider the shape of each section rather than applying one stitch direction to the entire logo.
For example, curved lettering may need a different stitch flow from a large background shape.
5. Adjust Stitch Density
Stitch density refers to how closely stitches are placed together.
Too much density can make an area stiff and bulky. Too little density can leave gaps or allow the fabric to show through.
The ideal setting depends on factors such as:
- Fabric type
- Thread
- Design size
- Stitch type
- Stabilizer
- Number of stitches
This is why good digitizing is more than automatic image conversion.
6. Add Underlay Stitches
Underlay creates a foundation underneath the visible stitches.
It can help:
- Stabilize the fabric
- Improve coverage
- Reduce shifting
- Support satin stitches
- Improve the final appearance
The type and amount of underlay should be selected according to the fabric and design.
7. Plan the Stitch Sequence
The machine follows the sequence stored in the embroidery file.
A well-planned sequence can reduce unnecessary thread changes and jump stitches. It can also help prevent problems such as visible overlaps and poor connections between design elements.
Professional digitizing considers the order in which different sections should be embroidered.
8. Add Thread Colors
Your original logo may contain several colors, but embroidery thread works differently from digital screen colors.
Choose thread colors that visually match the original design while considering the available thread palette.
If your logo uses very similar shades, you may also need to simplify the colors for better embroidery clarity.
9. Save the Design as PES
After digitizing and checking the design, export it in the appropriate PES format supported by the target Brother machine.
Do not assume that every machine supports exactly the same features or design size. Check your machine's specifications and embroidery hoop limitations before production.
What Makes a Good PES Embroidery File?
A good PES file is not simply one that opens successfully on a machine.
It should also be designed to produce clean embroidery.
Important qualities include:
- Correct design dimensions
- Appropriate stitch density
- Proper underlay
- Logical stitch sequencing
- Clean trims
- Suitable stitch types
- Controlled thread changes
- Proper color assignments
- Fabric-appropriate settings
A technically valid file can still produce poor embroidery if it was digitized incorrectly.
Common Problems When Converting Logos
People often encounter problems when they try to convert artwork without understanding embroidery requirements.
Small Text Becomes Unreadable
Very small letters can become difficult to stitch clearly. The solution may involve increasing letter size, simplifying the font, or adjusting stitch settings.
Thin Lines Disappear
A line that is only a few pixels wide on screen may not translate well into stitches.
The digitizer may need to increase its width or convert it into a more suitable stitch structure.
Too Many Stitches
Automatically generated designs can sometimes contain unnecessary stitches. This may increase production time and create a bulky result.
Manual editing and optimization can help reduce unnecessary stitch data.
Fabric Shows Through
If a filled area has insufficient coverage, the underlying fabric may become visible.
Adjusting density, underlay, stitch direction, or the design itself can improve coverage.
Thread Breaks
Excessive density, poor sequencing, sharp stitch angles, or unsuitable settings can contribute to thread breaks.
Testing the design before large production runs is always a smart step.
Automatic Conversion vs. Professional Digitizing
Automatic conversion tools can be useful for simple artwork, but they are not always enough for detailed logos.
An automated system may recognize shapes and generate stitches quickly. However, it may not understand the practical limitations of a particular fabric, hoop, machine, or small lettering.
Professional digitizing allows the design to be reviewed and adjusted for actual embroidery conditions.
This can be especially helpful for:
- Business logos
- Detailed artwork
- Small lettering
- Hat designs
- Jacket backs
- Patches
- Multi-color logos
- Large production orders
How to Prepare a Logo for PES Conversion
Before sending your artwork for digitizing, take a few minutes to prepare it.
Use High-Quality Artwork
A clear vector file is ideal when available. If not, provide the highest-resolution image you have.
Specify the Final Size
Tell the digitizer the size you want the finished embroidery to be.
Mention the Fabric
Cotton, denim, fleece, caps, performance fabrics, and other materials can require different approaches.
Choose the Embroidery Location
A left-chest logo may need different treatment from a large back design.
Provide Color Information
If brand colors are important, provide the preferred colors or reference information.
These details help create a more practical embroidery file.
Testing Your PES File Before Production
Never assume that a design will look exactly the same on screen and fabric.
A test stitch-out can reveal issues that are difficult to notice digitally.
During testing, look for:
- Uneven coverage
- Puckering
- Gaps
- Thread breaks
- Poor lettering
- Excessive thickness
- Incorrect colors
- Misaligned sections
If something does not look right, the embroidery file can be adjusted before producing a large batch.
Tips for Better Brother Embroidery Results
If you regularly work with Brother embroidery machines, these simple practices can save time and materials.
- Start with clean artwork.
- Choose the correct finished size.
- Consider the fabric before digitizing.
- Avoid extremely small details.
- Use appropriate stitch density.
- Check underlay settings.
- Reduce unnecessary color changes.
- Preview the stitch sequence.
- Test important designs before bulk production.
- Keep the original artwork for future edits.
When Should You Use a Professional Service?
If the logo is simple and you already understand embroidery software, you may be able to handle the digitizing yourself.
However, professional help can be valuable when the design is detailed, the deadline is tight, or the file will be used for commercial production.
Digitizing Buddy can help turn your artwork into an embroidery-ready design while considering stitch structure, size, detail, and production requirements.
The goal is not simply to create a PES file. The goal is to create a file that embroiders well.
Final Thoughts
To convert logos into Brother PES embroidery files, you need to do more than change the file format. The artwork must be transformed into carefully planned embroidery stitches.
Start with clean artwork, choose the right size, use suitable stitch types, control density, plan the stitch sequence, and test the finished design before production.
A properly prepared PES file can make the difference between an embroidered logo that looks professional and one that looks messy or difficult to read.
Whether you are preparing one logo or several designs for production, focusing on the embroidery process—not just the file extension—will give you much better results.
FAQs
1. Can I convert a JPG logo directly into a PES file?
A JPG can be used as the source artwork, but it needs to be digitized into embroidery stitches before it becomes a functional PES file. Simply changing the extension will not work.
2. What type of artwork is best for PES digitizing?
High-quality vector artwork is usually a strong starting point because shapes can be edited and resized cleanly. High-resolution PNG or JPG files can also be used.
3. Can every Brother embroidery machine use PES files?
PES is associated with Brother-compatible embroidery systems, but machine capabilities can vary. Always check your specific machine's supported file formats, hoop sizes, and design limitations.
4. Why does my converted logo look different when embroidered?
Screen graphics and embroidery behave differently. Stitch density, fabric, thread, underlay, stitch direction, and design size can all affect the finished appearance.
5. How can I get a better PES file for my logo?
Provide clean artwork, the desired embroidery size, fabric type, embroidery location, and color information. For detailed or commercial designs, professional digitizing can also improve the final result.