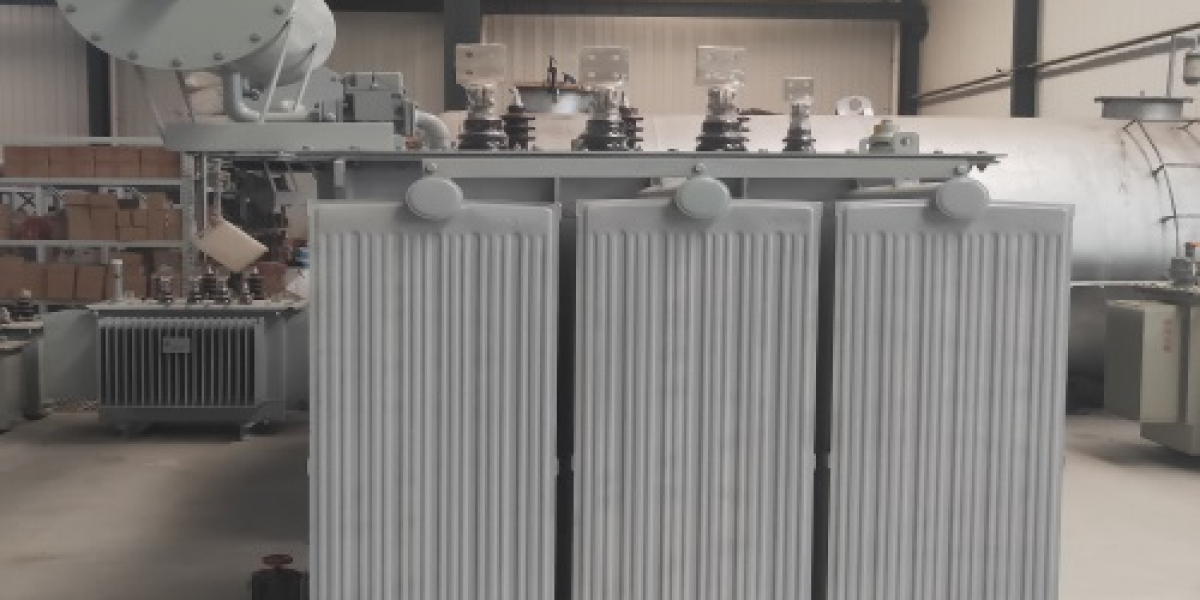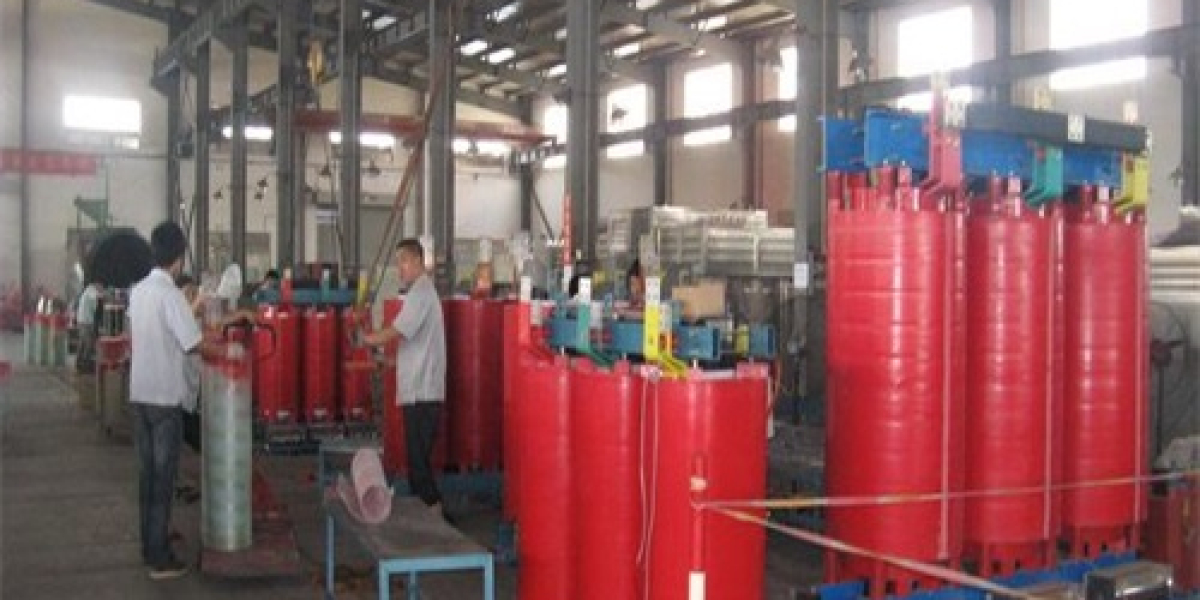

Dry-type transformers are everywhere in modern power work — commercial buildings, plant distributions, indoor substations. They shed heat through air circulation instead of oil, which is exactly why engineers put them in occupied or fire-sensitive spaces. But like any piece of gear, they can take a short-circuit hit, and what you do in the minutes and days after the fault is what keeps a nuisance trip from becoming a scrap unit. Here's what actually matters when you're working through a short-circuit fault on a dry-type transformer.
What to check and fix after a short-circuit fault
Replace the insulation parts — and don't skimp on the coil supports.The spacers and bracing that hold the windings in place absorb most of the mechanical punch during a fault. Pull them, inspect every one, and swap out anything cracked, charred, or compressed. Before you reinstall the replacements, dry the insulation properly: a bake at 80°C or higher drives out absorbed moisture and brings the dielectric strength back up. Skip this and you've set up the next fault.
Give it a standing period before you energize.Any time you've had the enclosure open — exposed the windings, replaced insulation, or pulled the core — let the unit rest before closing it back in. A full 24 hours of stand-down is our default after a rebuild, longer if the shop was humid. The whole point is to make sure every insulation component is bone dry. Rushing this step is how you get a turn-to-turn fault on first startup.
Inspect the core, not just the windings.Check the core corners and the main air-duct area, and actually measure the insulation resistance of the main duct rather than eyeballing it. A sharp lamination corner can puncture insulation and open a path to ground, so dress those edges. The real trap is a multi-point core ground: if the core touches the frame in more than one spot, you get circulating currents and local heating that will quietly burn through the insulation. Confirm you've got a single, clean ground point.
Build short-circuit strength in from the start.The best repair is the one you don't need. When you're specifying or rebuilding, choose winding materials and a structure that can take the mechanical load of a through-fault. Amorphous-alloy cores hold up well under short-circuit forces thanks to how the core is built, and they're worth a look if the unit sits downstream of a stiff source. If you're shopping for a unit rated to survive repeated faults, browse our dry-type product lines.
Keep it dry, period.Moisture is the quiet killer for dry-types. After a fault and after every inspection, make sure the unit is dry before it goes back in service. Store spare insulation in a heated cabinet, and if the transformer lives somewhere damp, look at a sealed or enclosed construction. Our isolation transformer guide breaks down the dry-type constructions — VPI, cast resin, and sealed — and where each one belongs, which is a handy reference when you're deciding what to drop into a tough environment.
Work the list top to bottom, confirm each item, and only then close it up. Stepping through the fault methodically is what keeps the equipment running instead of landing back on your bench next quarter.
Frequently asked questions
How do I know if the short circuit actually damaged my dry-type transformer?
Start with insulation-resistance and turns-ratio tests on every winding. A megger reading that's dropped against the nameplate baseline, or a ratio that's off, tells you the fault reached the insulation. Visual inspection of the coil supports and core corners catches the rest. If the IR holds and the ratio is right, you may be looking at a fault that cleared upstream and never stressed the unit.
Can I just re-energize after the breaker trips?
Not right away. Even with nothing visibly burned, hidden insulation damage and moisture won't show until voltage is applied. Run the 24-hour dry-out and the IR check first. Re-energizing blind is how a minor fault turns into a coil replacement.
What's the difference between a step-up and step-down transformer, and does it change how a fault behaves?
The hardware is the same — only the direction of power flow flips. Step-up raises voltage and lowers current; step-down does the reverse. It doesn't change how a short circuit behaves, but it does change which winding sees the stress. If the basics are fuzzy, our step-up vs. step-down guide lays it out plainly.
How do I size or pick a replacement that won't repeat the problem?
Size from your actual load with a growth margin, confirm the enclosure and cooling class fit the space, and check the nameplate impedance against your available fault current so the unit can ride through the next through-fault. Our NEC sizing and overcurrent protection calculator runs the 450.3(B) math for you, and the loss and total-cost-of-ownership calculator shows whether a premium-efficiency unit actually pays back.
Which manufacturer should I buy from?
Lead time, documented compliance, and total owning cost matter more than the logo on the enclosure. Our manufacturer comparison scores 14 suppliers on exactly those points if you're building a shortlist.